Putting a roof on it!
- Jan 7, 2017
- 3 min read

We are ready to begin our roof. Once the walls were up, we began prepping the ridge beam. This ridge beam will support our open ceiling to give us more head room on the second floor and to allow us to avoid trusses or posts. We are making our own laminated ridge beam. It is a sandwich of two 2x12’s and a piece of ½” thick strand plywood. We started the sandwich with one 2x12x12 and one 2x12x16. Then the plywood was sandwiched in between the 2x12’s using construction adhesive and 2 ½” long screws. Another 2x12x16 was then pieced on where the 2x12x12 left off so that the seams of the 2x12’s on either side of the ridge beam were staggered for more stability. If the seams match up on both side this makes for a weak point and the beam may buckle or break. We erected temporary posts to support the ridge beam since we constructed it in place. This process of building the beam in place made it much easier since a fully constructed 2x12 laminated beam 32’ long would be very heavy. Constructing it in place with temporary posts makes it a 2-3 person job.

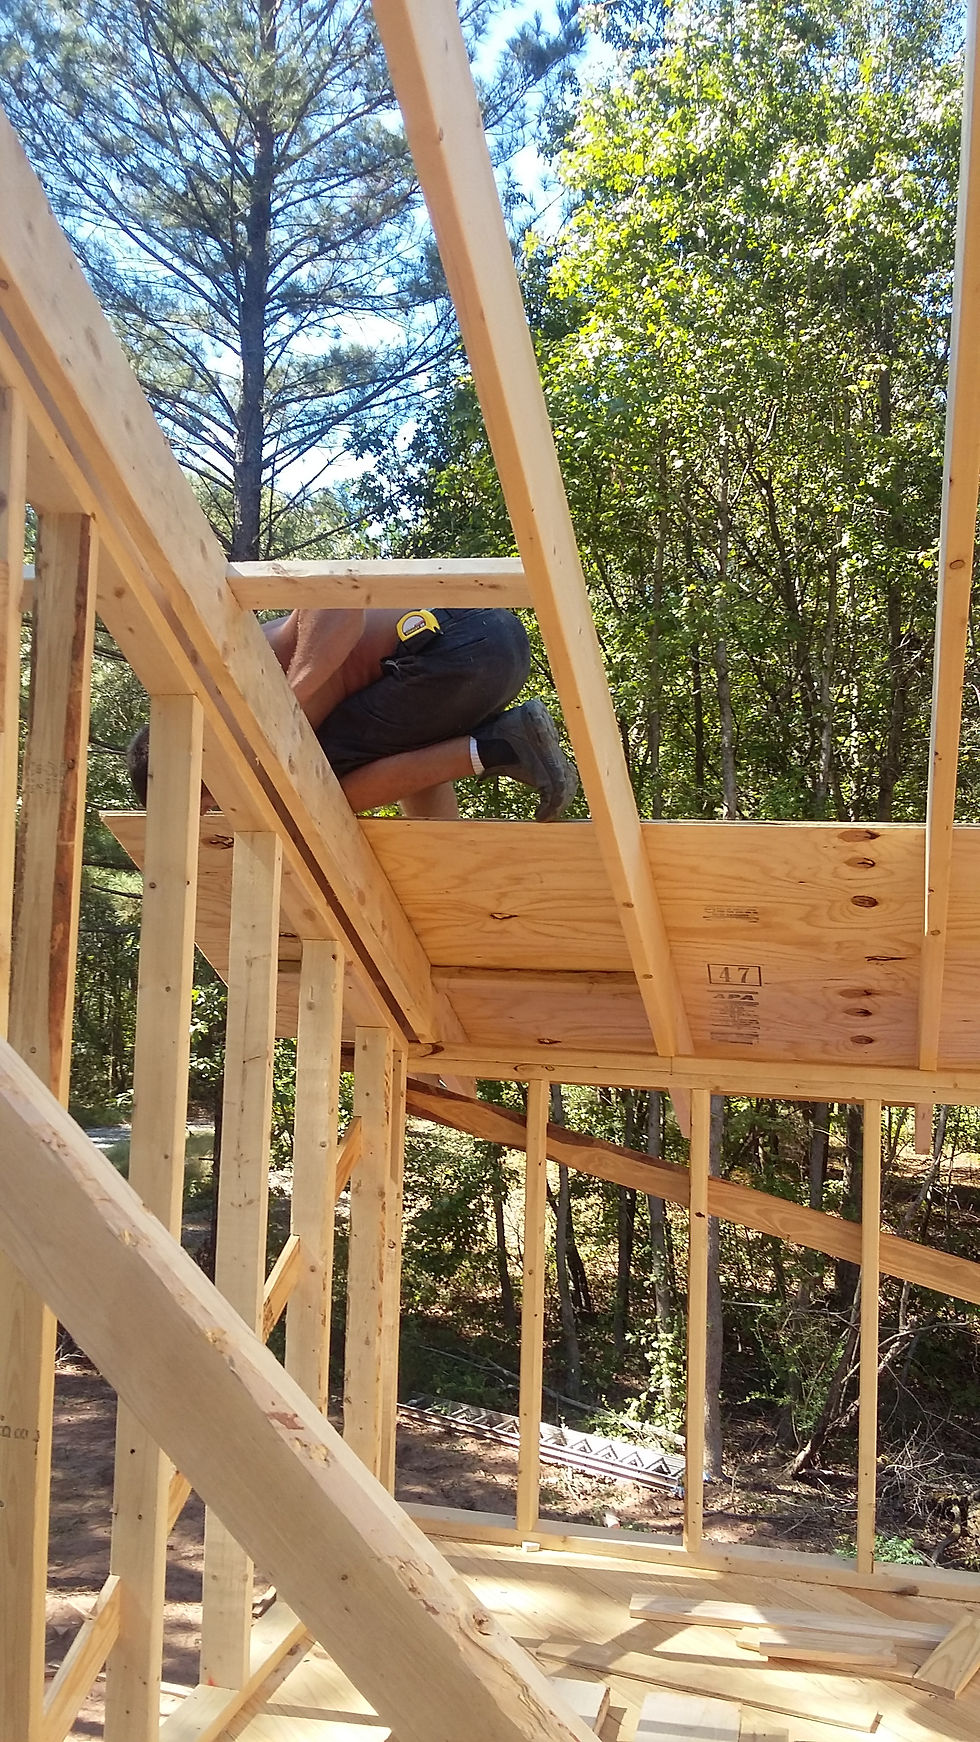
Joist cut angles labeled

Once the ridge beam was in place, the joists could be cut. We cut ours with 4 different angles (Labeled above). Two angles were for the steeper pitch. The first angle was where the joists met the ridge beam and the second was to make the overhang parallel with the edge of the house. We used a speed square to check the angle of each joist before cutting to accommodate a variations on the ridge beam. Sometimes these variations (from the cut of the wood or the growth of the tree) would mean a whole degree difference. This is important for a good meet with the ridge beam. The joists were toe-nailed in place. We used a template to cut the verge rafter angles and length. We placed our rafters 24” on center and used 2x8 rafters. We could have used 2x6’s but we wanted an exposed rafter look and with insulation and then covering the insulation, with 2x6’s there would not be enough of the rafter left exposed. With the 2x8, we have room for 4” insulation and up to ½” thick bead board or panelling to cover the insulation and we still have about 2-2 ½” of exposed rafters.
You can see the lookouts under the sheet of CDX and directly above it.

With all the joists in place, Garrett placed 5 lookouts on either side of the house to support the CDX (specific plywood used for roof decking), fascia boards to be added later and the decorative brackets, also to be added later. Then using screws and plywood clips we started placing the CDX on the joists. We staggered the seams here as well for structure and to strengthen potential weak points. When the bottom most layer of CDX was secure, we screwed a 1x4 down to use to walk easier and as leverage since the pitch was steep. This made it easier to make sure we didn’t slide down.

The 1x4 slip board can be seen at the bottom of the pitch on the front roof.
Next, we placed black roofing felt which isn’t really felt but a water resistant layer that supports your roofing material in doing its job of keeping the weather out of your house. We used Rex Technoply Felt which is made of recycled materials and can be used alone for up to 6 months before laying your final roofing materials. It comes with a nailing pattern with was helpful and went down quickly. You want to get this layer on as quickly as possible after your CDX since the CDX is plywood and not water resistant. The CDX will warp when wet and this will weaken your roof.
You can take a gander at the roofing felt on the front porch roof and the back roof.
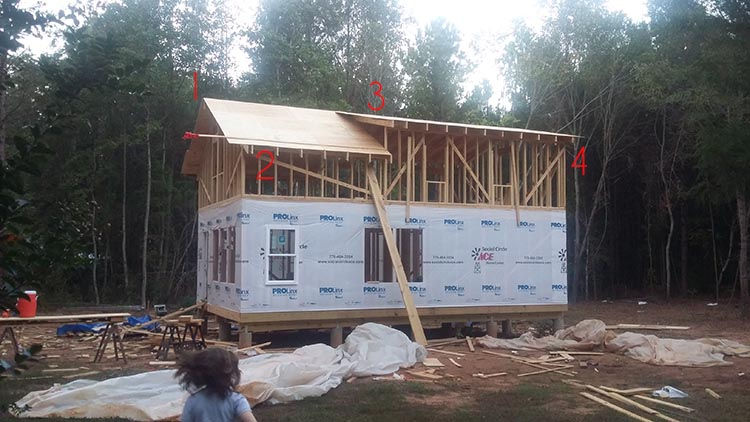
Finally we wrapped the second floor in house wrap to FINALLY make our house water proof.
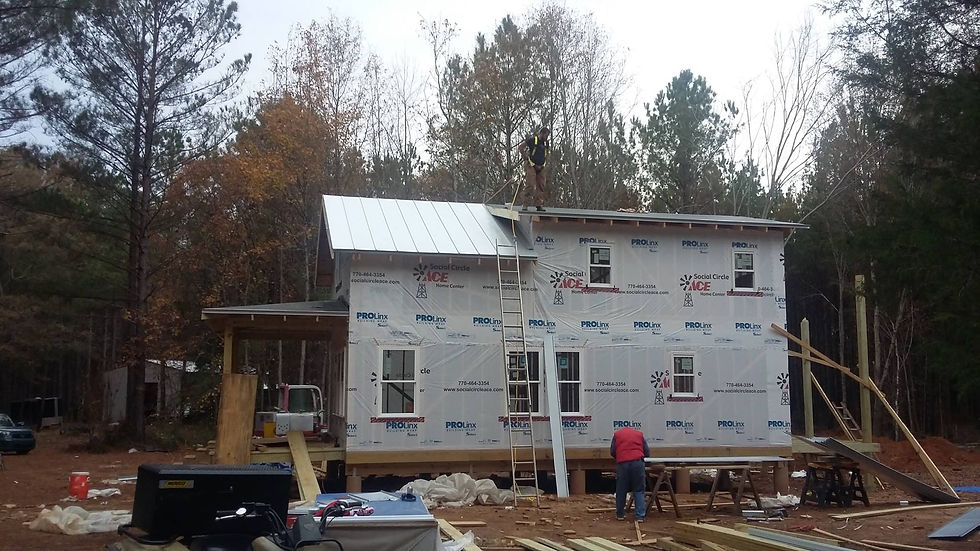
Next we will add in the windows and the porches so we can get our Louisiana Pacific siding up. Wait to you learn more about this great siding.
Reference Links:
http://www.structural101.com/Structural-Ridge-Beam.html
https://en.wikipedia.org/wiki/Lookout_(architecture)
https://www.doitbest.com/products/100243


Comments