Small House: Foundation | RTS Historic Homes
My husband, Garrett, and I are building our own small house and these blog post will share our story.

Our Beekeeper’s Bungalow has been renamed the Quest house due to a misunderstanding at the permit office. When we described our small house to them, the response was “Oh like a guest house!” While it is not, in fact, a guest house, the size to the permit office seemed to indicate that it was; so we agreed to save time and arguing. A few days later when I picked up our build permit I noticed that the house had been dubbed “Quest House” but some, no doubt, multi-tasking, very distracted and very kind permit issuer. So one simple mistake became the moniker for our small house. And the getting of that permit allowed us to break ground on an actual Do-It-Yourself house.


We started, as all building projects do, at the beginning with the foundation. Well, we actually started before that with placement, grading and lots and lots of planning, design works and decisions but there aren’t many pictures to document that non-sense.
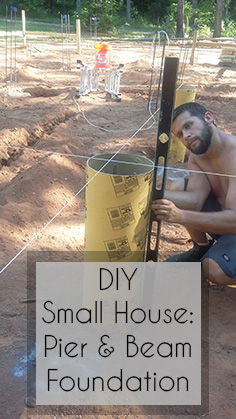
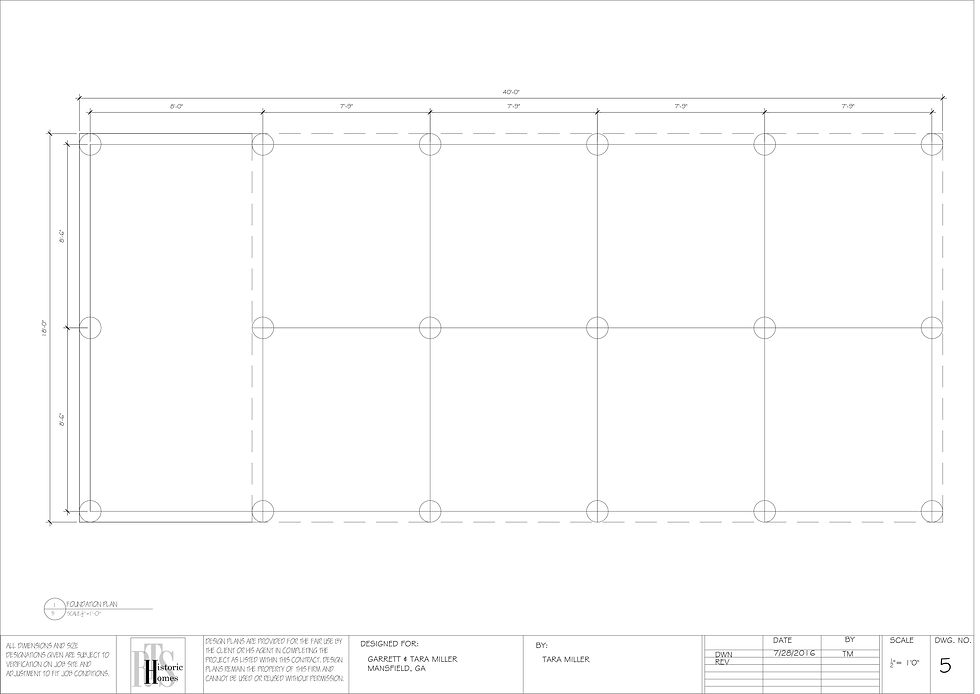
Our foundation is pier and beam because it seemed to be the most DIY friendly but not the fastest labor-wise. We considered a poured concrete slab but in June all of the contractors were busy and we would not be able to start framing for 2-3 months- unacceptable! We purchased 12” concrete tubes from Lowe’s and Home depot (Side note: the tubes are much cheaper at Lowe’s than Home Depot, about $4-5/ ea.) because we needed 15 but Lowe’s had 14. With our concrete mix delivered Garrett did most of the work here because concrete is heavy and upper body intensive. We rented a small auger/ trencher to dig the 12” holes we needed (Side note: if you rent 3 hours before closing than you can keep the machine overnight for no added cost. Because of this and the late summer hours we were able to dig all of the holes and two bathroom trenches before 9 am the next day). The next day Garrett spent welding the rebar towers for each tube and leveling each tube for pouring. The next 2 days were spent pouring into the tubes and placing the beam brackets to line up. 1 day was set aside for curing.
The beams are laminated 2x12s with plywood sandwiched in between and bolted to each pier. The flooring joists were them built on top to these beams.


I’ll share our unconventional but cost-saving flooring choice next time.


Comments